Making a granny square crochet blanket is so soothing and relaxing due to the repetitive nature of the stitches. No complicated patterns to follow and total mindfulness.
Not sure how to make a Granny Square Blanket then simply pop over to YouTube as there are millions of great tutorials so I am not about to make one as that would be like redesigning the wheel.
Simply type in the search bar “How to make a crochet granny square” and hey presto!
I get asked so many times how to make my blankets, what yarn I used and which colour combination I have used. There are many different ways to create a granny square so you have to decide what is best for you. You can make them with bigger chains at the corners, smaller chains at the corners, no chains in the middle, more chains in the middle. It’s entirely up to you and how you want your square to look and which method you find most relaxing.
We all have different tweaks to our style of Granny Square Happiness, these are mine:
- Size down crochet hook so if the yarn suggests 6mm I prefer using a 5mm or 5.5mm as I prefer tighter stitches,
- Start the blanket by chain 5 stitches.
- No chain stitch between clusters.
- Chain 2 at the corner.
- Turn after each colour.
- Sew in the ends as you go.


Wool Goddess Large Granny Square Blanket Pattern/ UK Terms
Abbreviations (UK Terms)
ch = chain
tr = treble crochet
ss = slip stitch
sp = space
st = stitch
cluster = 3 tr into same space
Pattern Notes
Begin with ch-5, join to form a ring.
No ch between clusters.
Ch 2 at corners.
Turn after each round.
Sew in ends as you go.
Use a new colour each round.
Pattern
Start:
1. With first colour, ch 5, join with ss to form ring.
2. Ch 3 (counts as 1 tr), 2 tr into ring (1 cluster),
(ch 2, 3 tr into ring) repeat 3 more times.
Ch 2, ss into top of starting ch-3 to join.
Fasten off and turn.
Round 2 and Onwards:
With a new colour, join yarn in any corner ch-2 sp, then:
1. Ch 3 (counts as 1 tr), 2 tr into same sp (first cluster),
2. Into next sp (side): 3 tr
3. Into corner sp: 3 tr, ch 2, 3 tr
4. Repeat steps 2–3 around, placing 1 cluster per side space, and corner: (3 tr, ch 2, 3 tr)
5. At end of round, ss into top of starting ch-3 to join.
6. Fasten off and turn.
Continue:
Repeat Round 2, increasing the number of side clusters by 1 per side each round.
Always work 3 tr into each side space
Corners remain: 3 tr, ch 2, 3 tr
Turn after every round
Use a new colour for each round
Sew in ends as you go
Finishing (Optional Edging):
Once your blanket reaches the desired size:
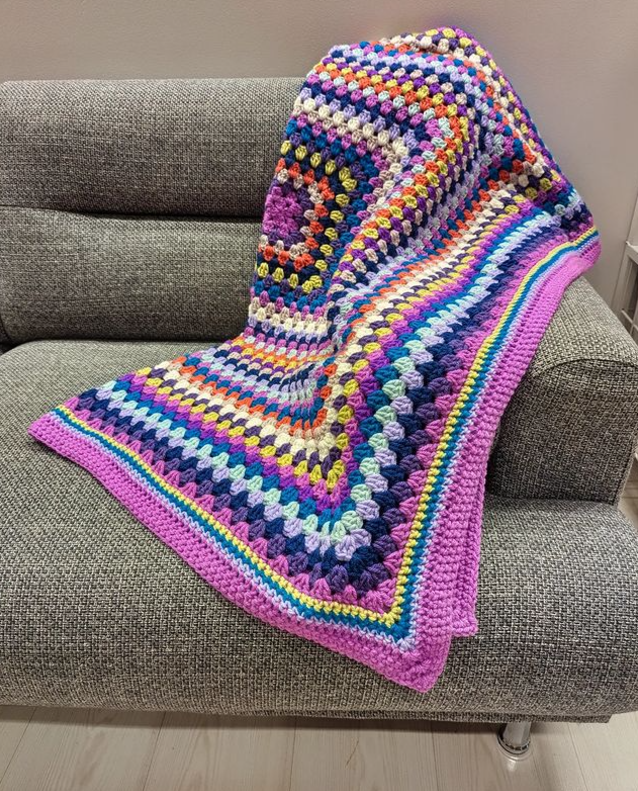
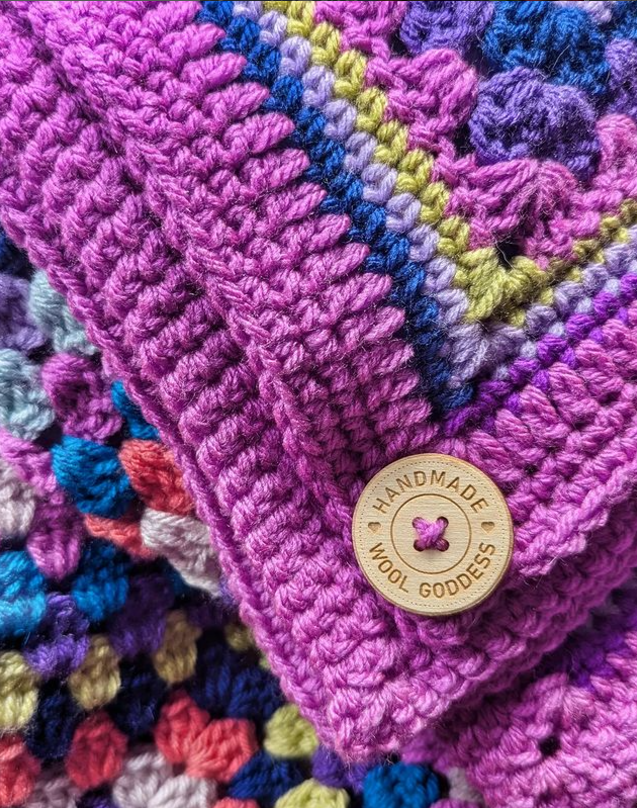
Add a simple border of 1 or 2 rounds…. or like me 5 or 6 as I love a thick border!
dc (UK) evenly around, working 3 dc into each corner.
Most importantly
My best advice would be to experiment and just have fun!

The usual List:
- Crochet Hook, Scissors & Needle..
Your Shopping List:
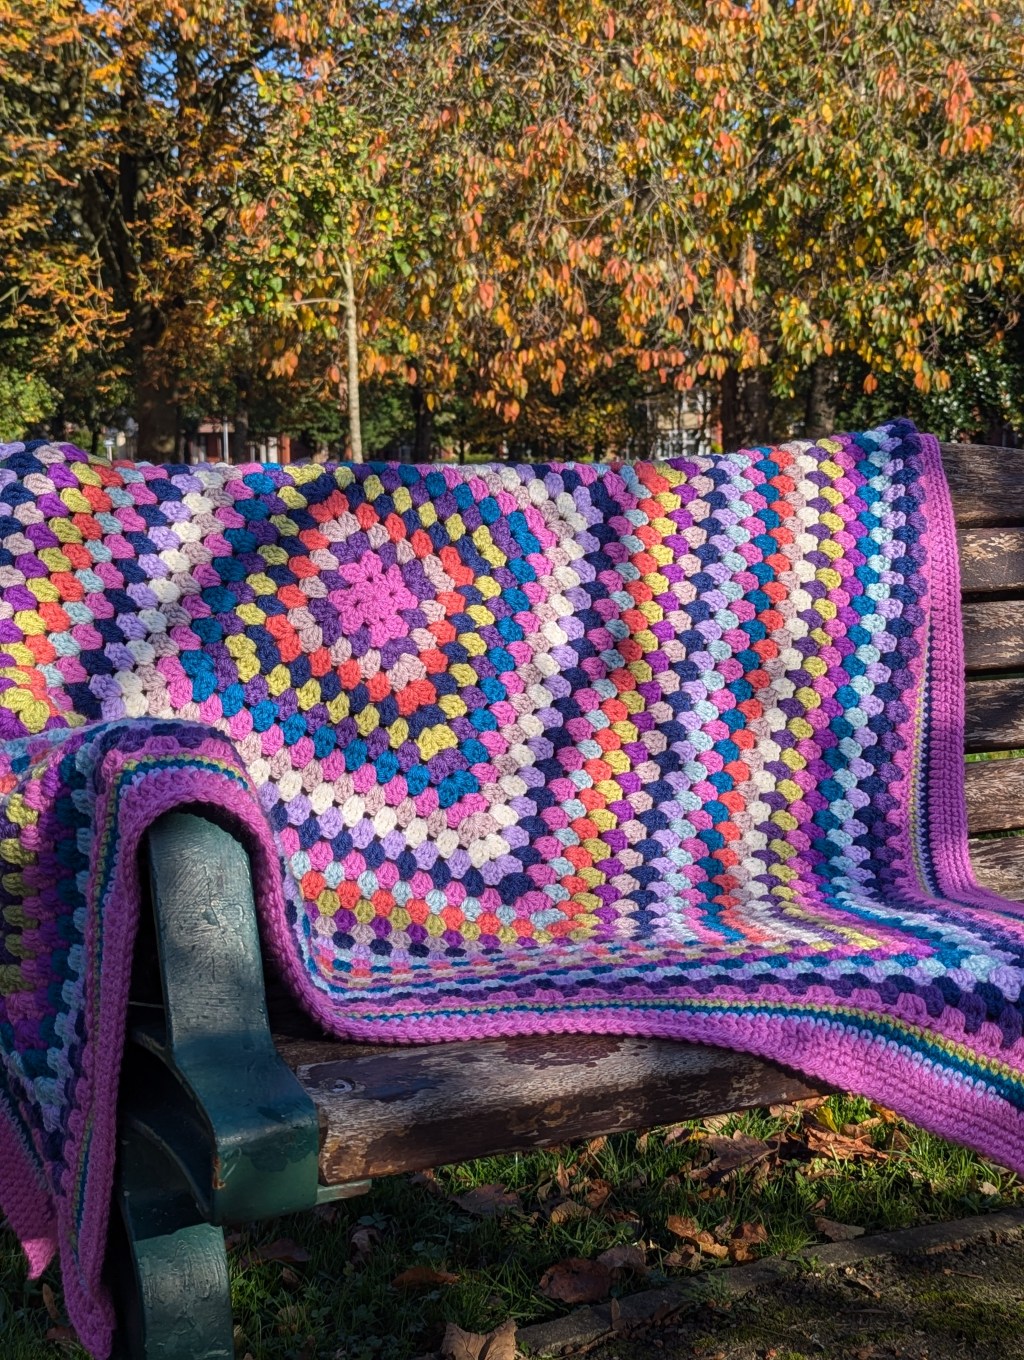
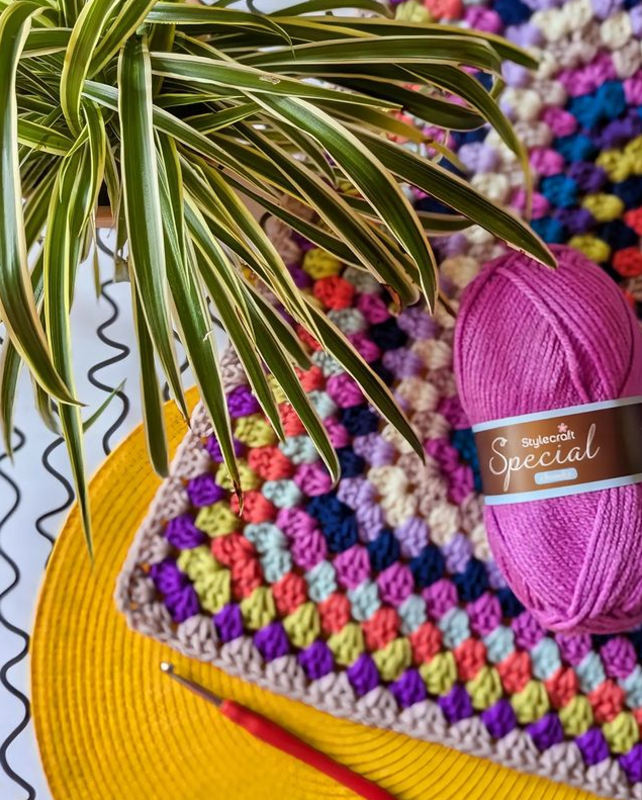
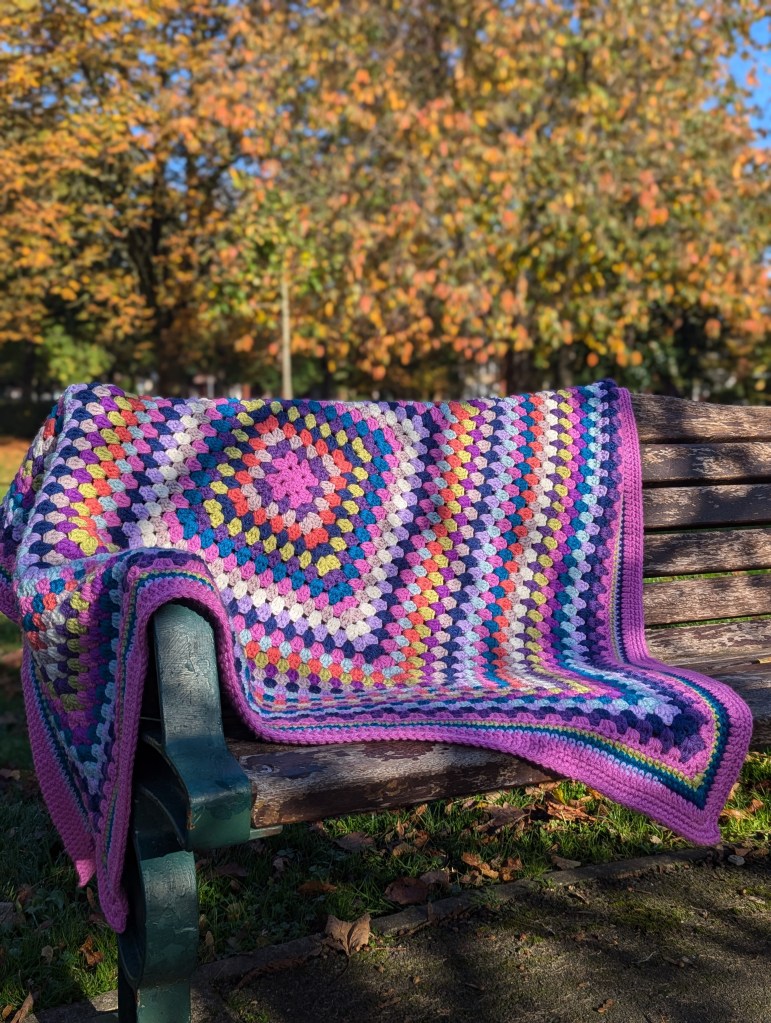
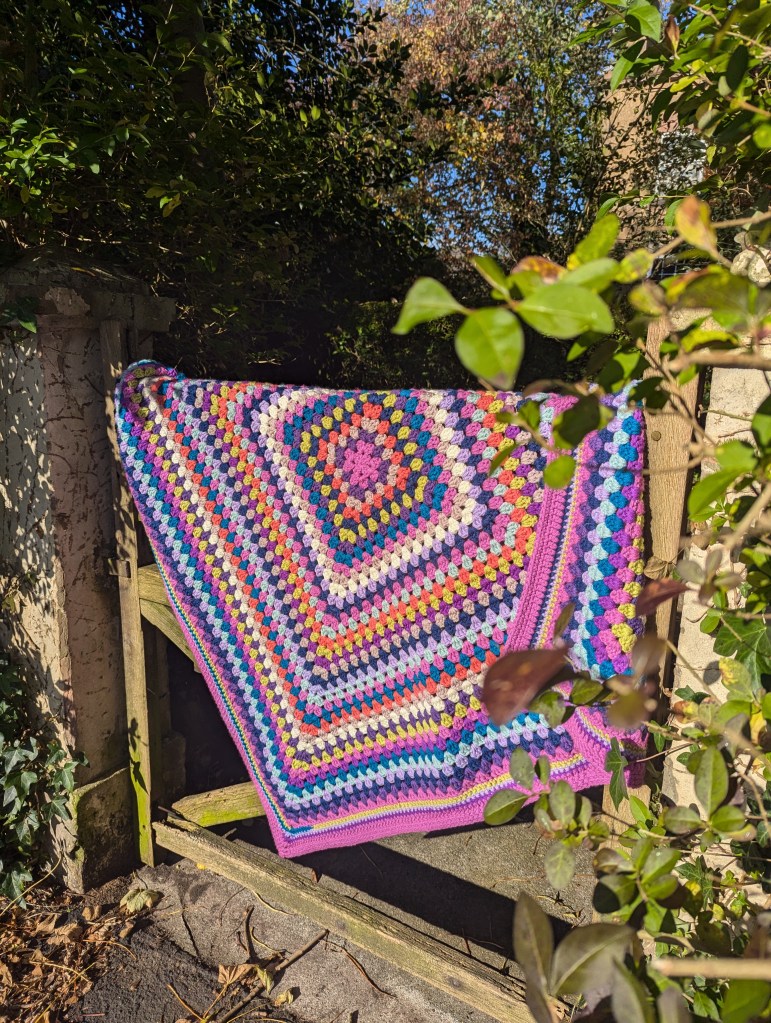
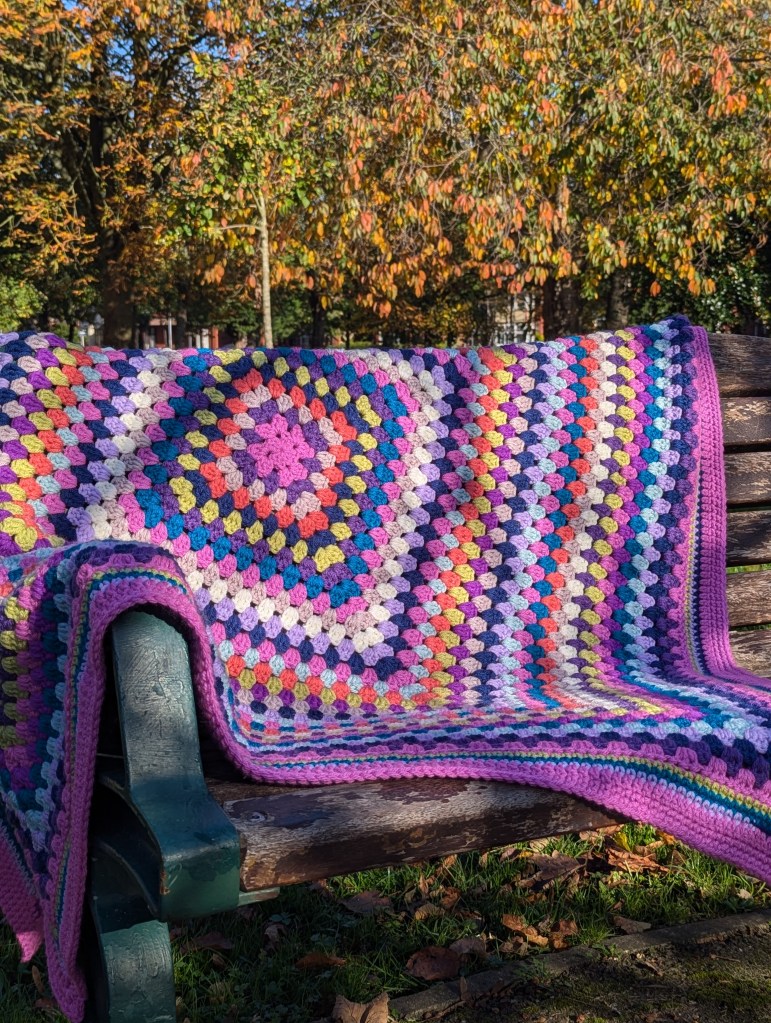
Yarn: Stylecraft Special Chunky
Colour Combination:
- Magenta x3
- Watermelon x2
- Mushroom x1
- Empire x1
- Pistachio x1
- Cream x 1
- Duck Egg x1
- French Navy x1
- Proper Purple x1
- Lavender x1
The quantity next to each yarn shade is an example of how many 100g balls I used. Everyone crochets slightly different so please use this as a rough guide only as you may need slightly more or less.

Main Body
Granny Clusters of three treble stitches UK Terms
Row 1 Magenta
Row 2 Magenta
Row 3 Proper Purple
Row 4 Mushroom
Row 5 Watermelon
Row 6 French Navy
Row 7 Pistachio
Row 8 Proper Purple
Row 9 Empire
Row 10 Magenta
Row 11 Mushroom
Row 12 Cream
Row 13 Lavender
Row 14 Proper Purple
Row 15 Magenta
Row 16 Duck Egg
Row 17 Watermelon
Row 18 Pistachio
Row 19 Proper Purple
Row 2) Mushroom
Row 21 French Navy
Row 22 Lavender
Row 23 Duck Egg
Row 24 Magenta
Row 25 Empire
Row 26 Watermelon
Row 27 Mushroom
Row 28 Cream
Row 29 Proper Purple
Row 30 Pistachio
Row 31 Magenta
Row 32 Proper Purple
Row 33 Empire
Row 34 Duck Egg
Row 35 Lavender
Row 36 French Navy
Row 37Proper Purple
Row 38 Magenta
To finish…
Border 1 Magenta
Border 2 Pistachio
Border 3 Pistachio
Border 4 Lavender
Border 5 Proper Purple
Border 6 Magenta
Border 7 Magenta
Border 8 Magenta
Border 9 Magenta
Border 10 Magenta
Alternatively
If you don’t fancy doing the blanket exactly like my one then that’s up to you. Just buy the colour combination and have fun as you crochet some love and magic into every stitch.
If you make this design please tag me into the image as it truly makes my day thinking I have inspired someone.
Remember, that is why I took the time to create this blog, it was because of them beautiful crochet moments when someone told me my blanket inspired them to make one.
Love & hugs


Leave a comment